Leveling Your Bow Sight: A How-To Guide | 60X Custom Strings
Posted by Todd Lambright on Jul 23rd 2024
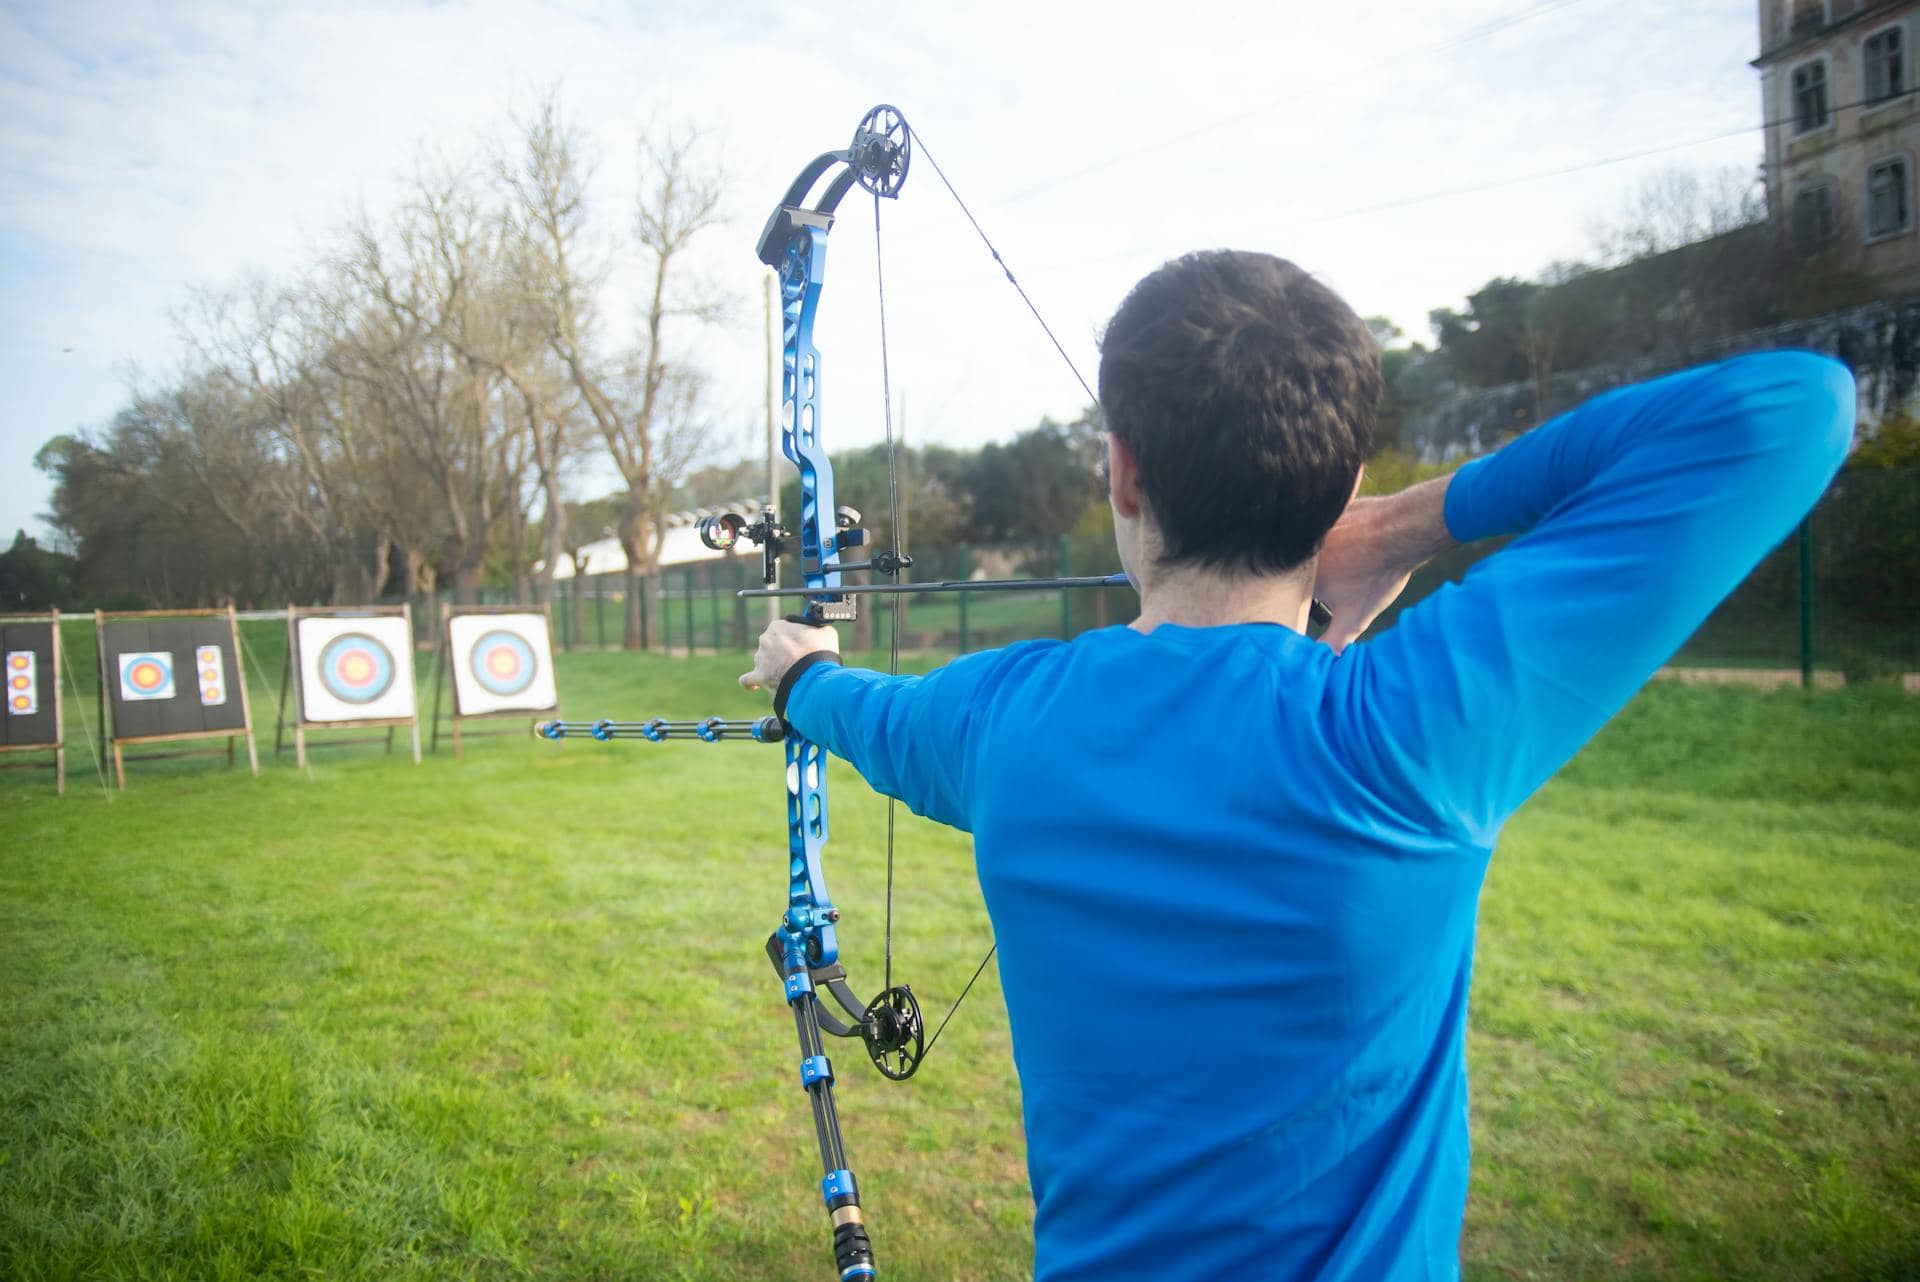
I want to talk about how to level a bow sight and why it’s important. If you’ve ever struggled with left and right misses at varying distances, or steep uphill, downhill, and sidehill shots, well... it may not always be your fault.
As archers, we try to do everything we can to ensure that our equipment is tuned and our arrows are flying straight. Leveling the sight is just one more thing that can make a big difference downrange.
It’s also important to know that when we talk about leveling in the archery world, that phrase largely includes the sight being “plum,” meaning the vertical bar, pins, and sight housing should be perfectly straight up and down, running on the same plum line as your bow string.
Is This Something Every Archer Should Do?
In my experience working in the archery industry, I’ve met all kinds of archers. From the archer who just wants to put a lethal shot on a deer at 20 yards to tournament archers and extreme hunters who want to be able to take 100+ yard shots with confidence if the opportunity arises.
The further the shots and the steeper the angles, the more a level sight will be critical in ensuring the shots hit behind the pin. After learning about leveling a bow sight, you can decide if it’s worth your time or not.
Can All Bow Sights Be Leveled?

No, not all sights even have a level, let alone the ability to adjust it, so you may not need to know how to level a bow sight at all. There’s nothing wrong with shooting a sight without a level—it just makes it extremely hard to have pinpoint accuracy at longer distances with varying shot angles and uneven footing. On level ground shooting at the same target from the same position, a leveled sight will show little benefit, However, in any other conditions, leveling a bow sight can make a huge difference.
It’s understood in the archery industry that a compound bow sight has three axes, which can be adjusted on higher-end hunting sights and competition sights. The 1st axis is the vertical bar that your pin or scope housing attaches to. The 2nd axis refers to the housing level itself—this is the bubble you’re looking in while aiming. The 3rd axis is the hardest one to explain—it’s the pivoting of the housing on a horizontal plane.
Required Tools
There are a few different companies that make archery tools specifically designed for leveling all axes on your sight.
I currently use the Hamskea Gen 2 for leveling a bow sight, as it allows you to set your 3rd axis on the bow at full draw. I believe it gives the archer the most accurate setup. Prior to that, I used the Brite Site Pro Leveler, which is a bench-mounted leveling device.
No matter what style or manufacturer you choose, doing something is better than nothing. The other thing you’ll need as you learn how to level a bow sight is a bow vise. Again, there are lots of manufacturer options. From press-mounted vises to bench-mounted vises, I’d suggest reading up on them and choosing the one that makes the most sense for the space you have to work with and the options you want available when leveling a sight or performing other maintenance. You can’t go wrong with a Last Chance Archery vise.
In a pinch, for a quick setup, I once used as little as a 6” level and an old stabilizer that I did NOT care about. Screwed the stabilizer into the bow as tight as I could, then smashed the end of it into a bench-mounted vise, not a bow vise mind you. If you don’t have any other tools, you can do something creative like this to set up your 1st and 2nd axis, although I would strongly recommend just buying the correct tools.
1st Axis Explained

As I said above, the 1st axis is the vertical bar that the sight housing attaches to. This needs to be perfectly in line with the bow string. For this step, the bow will need to be in a vise, leveled front to back and side to side, bow string perfectly plum.
If the 1st axis is off, as you move the sight housing up and down, it will travel left or right of your plum bow string line, thus causing your point of impact to drift further left or right as you shoot yardages further away from where you set your windage.
For example, if you set your windage at 40 yards when leveling a sight’s 1st axis, it’s possible to hit left at 20 but right at 60, even if you make perfect shots. Note: It’s sometimes difficult to find a flat surface on the vertical bar, but take the time to ensure it’s right. This is a crucial step in learning how to level a bow sight properly, as it’s the axis that the other two axes are set off of.
2nd Axis Explained
Once your 1st axis is set, you can move onto your 2nd axis. This is the sight housing itself, and depending on your setup, it may have a single pin or a bunch of pins. The amount or style of pins doesn’t matter when leveling a bow sight—it's the level itself you’re looking at for this step.
With the bow still in the vise with the string plum, adjust your 2nd axis so the bubble in your sight housing is perfectly centered. Once this is done, I like to double-check that the bow has not moved and the string is still plum.
3rd Axis Explained
The 3rd axis moves on a horizontal plane, pivoting the sight housing off the vertical bar closer or further from the shooter.
Think of it this way: While looking through your peep at your sight housing, imagine someone twisting the housing left or right. If you mounted a mirror on your sight housing, after leveling your bow sight, you’d want to be able to look right back into your eye at full draw. If the 3rd axis is off, you’d see out to the left or right instead.
On flat ground, this axis doesn’t matter much, but it makes a big difference for shots taken on uneven ground. Depending on what tools you have, how you set the 3rd axis will vary, so you may need to look up how to level a bow sight for your specific make and model.
No matter which method or tools you choose, setting the 3rd axis runs off the same basic principle. That said, you may want to check your user manual or talk to an expert if you’re unsure.
Here’s the basic technique: Keeping the vertical bar (1st axis) level, tip the sight or bow up or down simulating a steep uphill or downhill shot. At that steep angle with the vertical bar still level, look at the bubble. If it’s off even a little bit, you’ll want to adjust the 3rd axis and return the bubble to the center.
What happens when this is off: The archer corrects for it during the shot, putting the bubble in the middle and, in turn, is actually “canting” or tipping the bow left or right, negating the benefits of leveling a bow sight. This has the same effect as shooting on flat ground with your bubble off to the left or right. The longer the shot, the further the impact will be left or right of the point of aim.
Key Takeaways

This may not be something everyone wants to tackle, and that’s okay, but hopefully, this helped shed some light on what archers mean when they talk about leveling their sight. If you’re an archer who likes to go above and beyond and give yourself a little bit of an edge, learning how to level a bow sight may be just what the doctor ordered.
Upgrade Your Rig With Custom-Built Bow Strings
Leveling a bow sight is just one of the many ways you can improve your bow’s performance. Replacing or upgrading your bow strings is another. Whether you need compound bow strings, a recurve bow string, or a full set of crossbow strings and cables, you can count on 60X for the industry’s best aftermarket strings—bar none.
Available in a wide variety of custom bow string colors and custom fits and lengths, our top-of-the-line bow strings are individually built by Brad Patsy, a world-champion archer. They’re pre-stretched and ready to take your shooting to the next level. Shop now!


