Taking a Picture of Your Harvest
Posted by Maggie Slater with 60X Staff Shooters, Jeremy Boyd; Robert Carr; and Kris Skelly on Oct 11th 2023
Have you ever been in this scenario? You just bagged that trophy harvest that you’ve been chasing for years. You’re so excited that you don’t know what to do next. As you’re rushing to check off all your post-harvest to dos, you get a picture with your harvest, only to realize later that your photo is blurry.
Have you ever heard the joke, “Why don’t you take a picture, it’ll last longer?” This rings true with bagging that trophy harvest. A blurry image can be a major downer in this situation though.
This blog post will help you to take the steps you need to get a high-quality photo of you with your harvest that can be preserved and last for generations.
Safety is Most Important
First and foremost, safety should be your priority. Disarm and unload your weapon. Accidents do happen. You don’t want someone to get hurt or worse because you didn’t take care of your weapon post-harvest.
Assign a Photographer
Once your weapon is disarmed and unloaded, ask someone from your hunting party to use your phone to take your photo with your harvest.
Pro tip: If the temperatures are cold, start your hunt with your phone close to your body. A shirt or pants pocket are two options. If your phone gets too cold, the battery could drain and leave you without an option to take any photos. If you store it in a pocket, your body heat will keep it warm.
Choose the Optimal Background
Once your weapon is disarmed and unloaded and you've assigned a photographer, examine the environment around you. Select a backdrop for you picture, then position your harvest in front of that backdrop.
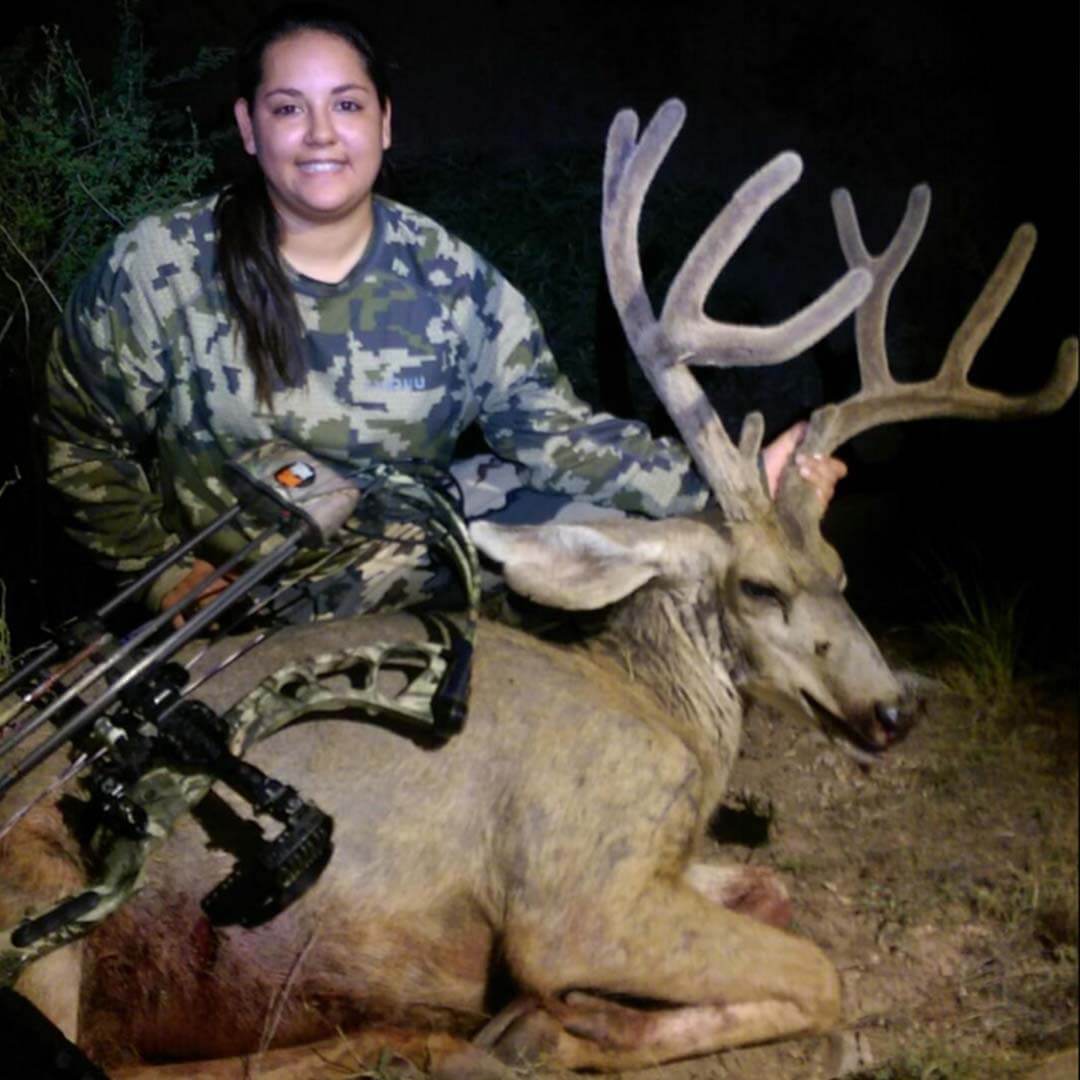
Pro tip: Different elements can camouflage your harvest, especially if it has a rack. A solid background, on the other hand, will make its rack really stand out. The photo below from 60X Staff Shooter, Tiffany Denogean, is a great example of this.

Direction of the Sun
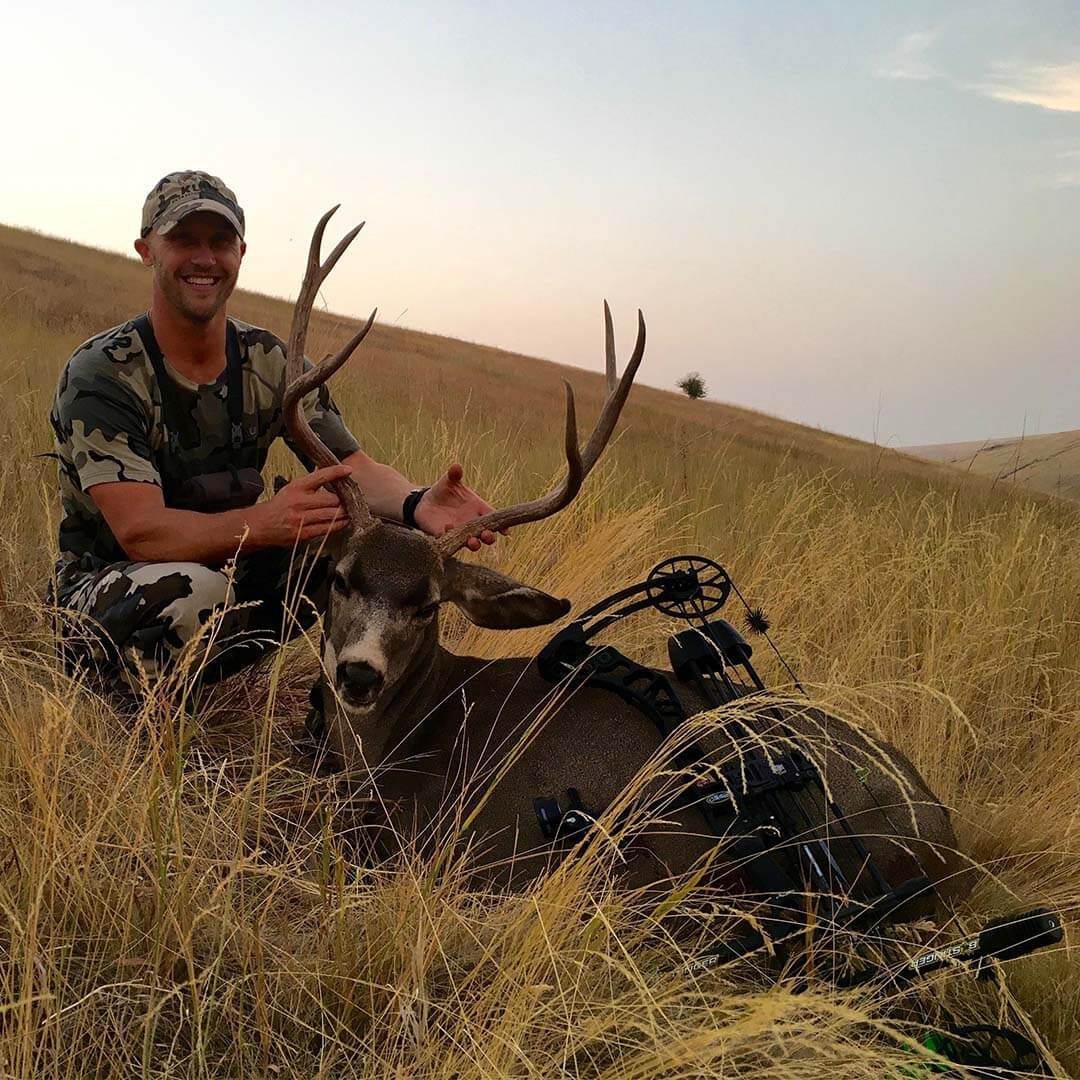
If it's daylight, consider the direction of the sun. If it's in your face, it can cause you to squint and/or wash out the picture. If it's at your back, it can wash out the details of the foreground.
Here's a photo of 60X Staff Shooter, Juan Levesque. Not only did he position the sun perfectly, but used the sun to accentuate his photo.

Animal Clean Up
Once you choose your background, take a couple minutes to put your harvest's tongue back in its mouth and wipe off any excessive blood.
Pro tip: Make sure your harvest's gut pile is not in the picture.
Display Your Weapon
Once your harvest is positioned where you want, point your weapon away from you and others and display it on top of or next to your harvest so that it will be visible in the photo.
Position Yourself in the Photo
Once your background is chosen, your animal cleaned up and displayed, and your weapon displayed safely, position yourself behind your harvest and lift its head so everyone can see it and its large rack, if applicable.
Take a High-quality Photo
When taking the photo, it’s natural to want to zoom in using the phone. Zooming in with the phone can diminish the quality of the photo. Instead of zooming in with the phone, physically zoom in by asking your friend to walk closer to you with the phone. Standing closer will produce a higher quality photo.
Try Different Angles
You want to give the proper size-perspective of your harvest, not making it look smaller or larger than it actually is, so don’t take just one photo from one angle. Depending on your specific scenario, try one or a few of these different angles:
- Directly in front.
- From the right side.
- From the left side.
Pro tip: In some cases, photographers will stand at an angle above you. This can make your harvest look smaller than it is. If your photographer tries this angle, just make sure the proper size-perspective is represented.
Check out Brian Frazier, 60X Staff Shooter, in this photo. We love this post-harvest photo! It’s a bit unique and it gives proper proportioning of his buck’s rack.

Position of Your Harvest
Not only can you position the camera at different angles, you can position your harvest at different angles. For example, here is a photo from 60X Staff Shooter, Kevin Kotchea. By taking his harvest to a vertical position, you can see details of his harvest you wouldn't have seen if positioned in the typical post-harvest horizontal position.

Take Photos in Multiple Places
If you have time, you may want to consider taking photos in more than one place:
- Where you met up with your harvest.
- In your truck bed.
- Where your harvest is hanging.
Here's a great example of a hanging harvest photo from 60X Staff Shooter, Antonio Brown. Notice how he is displaying his weapon as well.

Look at Your Photos
Don’t just assume that you got clear, crisp photos where everything in it is positioned correctly. Before you leave your picture-taking area, review the photos. Here are a few items to look for:
- Is your harvest standing out as the
main focus?
- As mentioned above, don't let your harvest get camouflaged by your surroundings.
- If your harvest has a rack, can you see the entire rack?
- Depending on how you're holding your buck's rack, your photographer may not get the entire rack. Make sure you can see your buck’s complete rack in the photo, not just a portion of it.
Share with Pro Staff Companies
Don’t forget to send these photos to companies you’re representing. They appreciate high-quality photos! Following the steps above, you shouldn't have a problem capturing that high-quality image.
Conclusion
The time with your trophy harvest is minimal. Soak it up. Take the time you need to get high-quality photos. This is a memory that you want to preserve and pass on to future generations.
Use 60X Strings?
We want photos of you with your harvests! If you want a chance to be featured in our newsletter and/or on our social media, send us your pictures to staff@60xcustomstrings.com.


